How to Choose a Fireplace for a Victorian Terraced House
A Victorian terrace hands you something most modern houses don't: a chimney breast, and usually a flue behind it. That's a real head start. The awkward part is that the fireplace itself has often gone — ripped out in the 1960s, plastered over, sometimes with the chimney breast removed upstairs and the stack left sitting on a gallows in the loft.
Two things decide what you can fit: the opening you already have, and the flue above it. Style comes third, not first. Get that order wrong and you'll end up with a handsome cast iron surround that smokes into the room every time the wind swings round.
Start with the opening, not the showroom
Before you look at a single surround, measure the recess. Width, height, depth, and the width of the chimney breast itself. Victorian register grate openings were commonly around 16 to 18 inches (roughly 405–455mm) wide, set into a surround of about 36 to 38 inches (915–965mm) overall. Bedroom fireplaces were smaller and plainer: often a 14 or 16 inch opening in a narrower surround.
Then look at what's holding the wall up above the opening. In terraces of the 1860s onwards you'll often find a brick arch, sometimes decorative. Earlier houses may have a stone lintel. If you find a timber lintel that has been there since the 1870s, it has probably earned its keep — but don't assume it can take having the opening widened underneath it.
Resist the urge to cut a bigger opening for a bigger fire. The flue above is a fixed size and was matched to the original opening, not to your plans. It's also worth knowing that if a previous owner removed the chimney breasts upstairs, the remaining stack may need support before you add weight back at ground level. That's a job for a structural engineer, not a builder's hunch.
Match the style to the age of the house
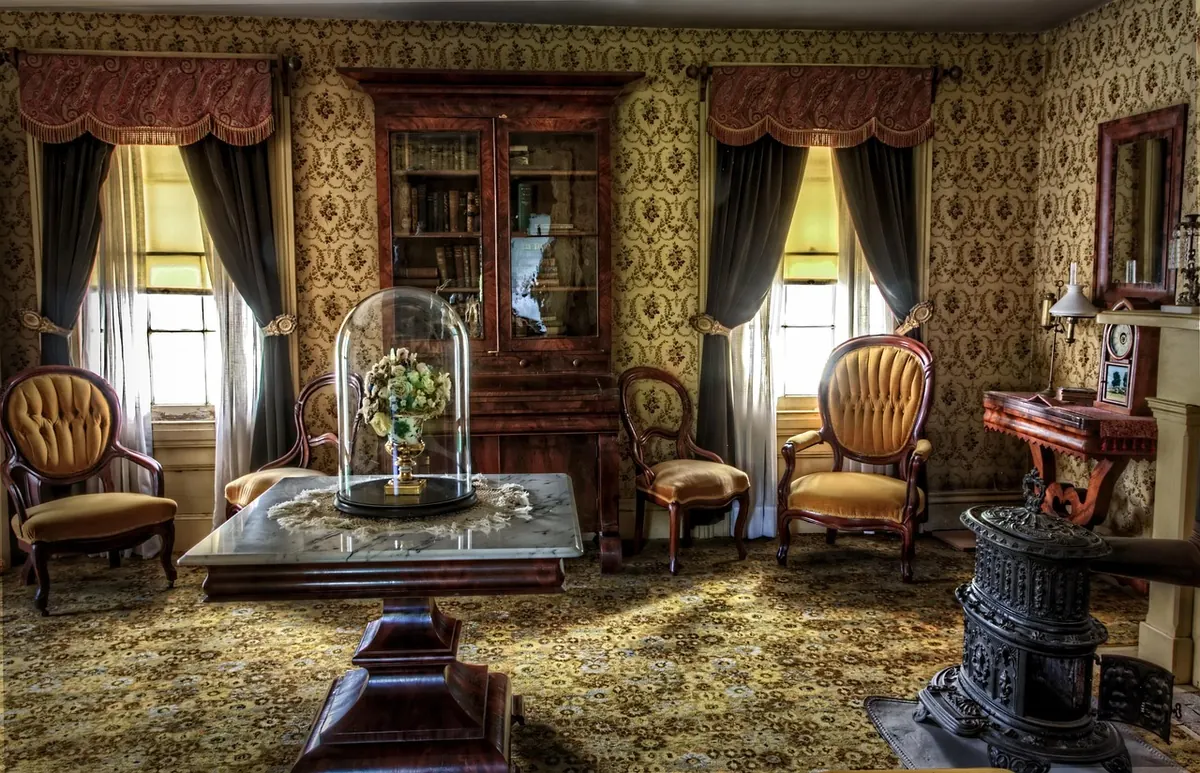
"Victorian" covers 1837 to 1901, which is a long time and several fashions. Early Victorian rooms usually had a slate or marble surround with a separate cast iron insert, sometimes a hob grate. By the 1880s and 1890s the cast iron combination fireplace had taken over — surround, slips and grate in one piece, often with a moulded canopy and patterned tiles.
A few rules of thumb that serve well:
- The front parlour got the grander fireplace; the back room got something plainer.
- Bedrooms were modest — small cast iron inserts, simple surrounds, little ornament.
- Late Victorian tiles tend to be muted greens, browns and blues; Edwardian ones are lighter and often art nouveau in feel.
- If your house is an 1840s cottage-style terrace, a heavily moulded 1890s combination fireplace will look like a guest who turned up to the wrong party.
Reclaimed surrounds are worth the hunt, but check reproduction pieces carefully too. Many are made to round metric dimensions and simply won't sit into an imperial opening without packing out. Depth matters as well: a deep reproduction surround can swallow floor space in a narrow front room.
Size the fire to the room, not the gap
Oversized stoves are the most common expensive mistake in period homes. A fire that's too powerful has to be run shut down, which means incomplete combustion, tarred flue, blackened glass and wasted fuel. A rough trade rule of thumb for a reasonably insulated room is about 1 kW per 14 cubic metres of volume — and Victorian rooms are tall, so measure volume rather than floor area.
Take a front room of 4.5m by 3.6m with a 2.9m ceiling. That's roughly 47 cubic metres, which points you towards something in the 3.5 kW region as a starting figure and a 4 to 5 kW stove if the house is draughty. Your installer can refine that.
Think about what you actually want from the fire. An open fire is a lovely thing to sit in front of, but most of its heat goes up the chimney. If the aim is warmth rather than atmosphere, a stove or an enclosed inset will give you far more heat from the same logs.
Check the flue before you spend a penny
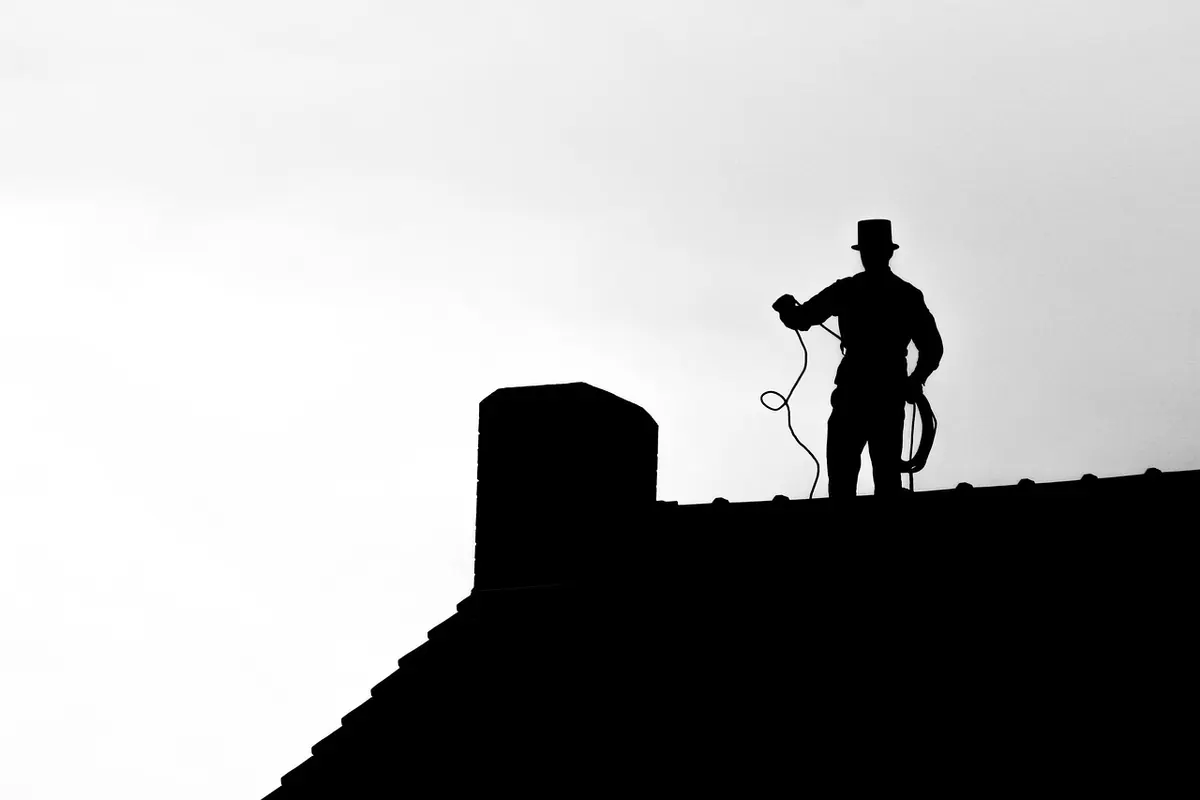
Book a sweep to clean and smoke test the flue first. It's cheap next to the cost of discovering a problem halfway through installation. For open fires, the old rule is that the flue should have a cross-sectional area of at least one seventh of the fireplace opening. Victorian flues are often around 9 inches by 9 inches, in brick or with a clay liner, but they can be parged, cracked, or shared in ways you can't see.
In a terrace, the stack usually serves several houses, each with its own flue. Deteriorated brickwork between them can let smoke from next door into your room. A smoke test will reveal it; so will lighting a fire on a still evening and watching which way the smell travels.
On lining:
- Wood burning stoves almost always need a stainless steel flexible liner run to the top of the stack.
- Gas fires need their own appropriate liner or flue arrangement, fitted by a Gas Safe registered engineer.
- An open fire can sometimes use the existing flue if it's sound and correctly sized — but many aren't.
Don't forget the top end. A pot, a cowl or a bird guard, correct height above the ridge and a rain cap all affect how reliably the fire draws.
Ventilation: the part people forget
Every fire eats air. Original sash windows, gappy floorboards and unsealed doors made Victorian terraces permanently ventilated, which was good for the fire and terrible for the heating bill. Double glazing, draught-proofing and loft insulation all reduce that air supply, and a fire starved of air will burn badly or spill smoke into the room.
As a general guide, appliances with an output above 5 kW need permanent ventilation, with the size of the vent increasing as output rises. That usually means a properly positioned air brick or wall vent, sited so it feeds the appliance without blowing a cold draught across your ankles. Never block it, and never assume an old air brick is still clear.
Warning signs of insufficient air include a fire that's slow to light, smoke curling out into the room, a sooty smell when the fire is running, and condensation on the windows. A carbon monoxide alarm is a legal requirement in England in any room containing a solid fuel appliance, and it's a sensible addition in any case. If you suspect a problem with an existing flue or appliance, stop using it and get a registered installer to look at it.
Smoke control areas, regulations and paperwork
In England and Wales, combustion appliances and flues are covered by Approved Document J of the Building Regulations. Scotland and Northern Ireland have their own arrangements, so check what applies where you are.
One thing that catches out terrace owners in towns and cities is the smoke control area. If your street is designated, you can only burn authorised smokeless fuels or use an appliance exempted for use in smoke control areas. Your local council can tell you whether you're inside one — worth knowing before you buy a stove that isn't exempt.
Installation of a solid fuel or gas appliance is normally notifiable building work. Using a HETAS registered installer for solid fuel, or a Gas Safe registered engineer for gas, means the work is certified and notified for you. If you install it yourself, you'll need to notify building control instead. If your terrace sits in a conservation area or is listed, external changes such as a new flue terminal or chimney alteration may need consent from the planning authority.
Rules change and vary across the UK, so if you're unsure, ask your local building control team or a registered installer before committing.
A sensible order of work
- Sweep the chimney and have the flue smoke tested.
- Measure the opening, the recess depth and the chimney breast, and check the lintel.
- Check whether you're in a smoke control area.
- Decide between open fire, stove or gas, based on what the flue can take.
- Work out the heat output you need from the room's volume.
- Only then choose the surround and insert to suit the age of the house.
- Book a registered installer, and arrange the vent, hearth and carbon monoxide alarm at the same time.
Done in that order, a Victorian fireplace stops being a decorative gamble and becomes what it was designed to be: the warm, working centre of the room. Take your time over the measurements, be honest about the condition of the flue, and the finished thing will look as though it was always there.
Photo: VinnyCiro / Pixabay
You Might Also Like
Burning the wrong fuel in a smoke control area can mean a fine of up to £1,000. Here's how to check the rules and heat your home legally.
A practical, room-by-room fire safety checklist for homes with open fires and log burners, covering alarms, hearth guards, extinguishers, chimney care and safe ash disposal.